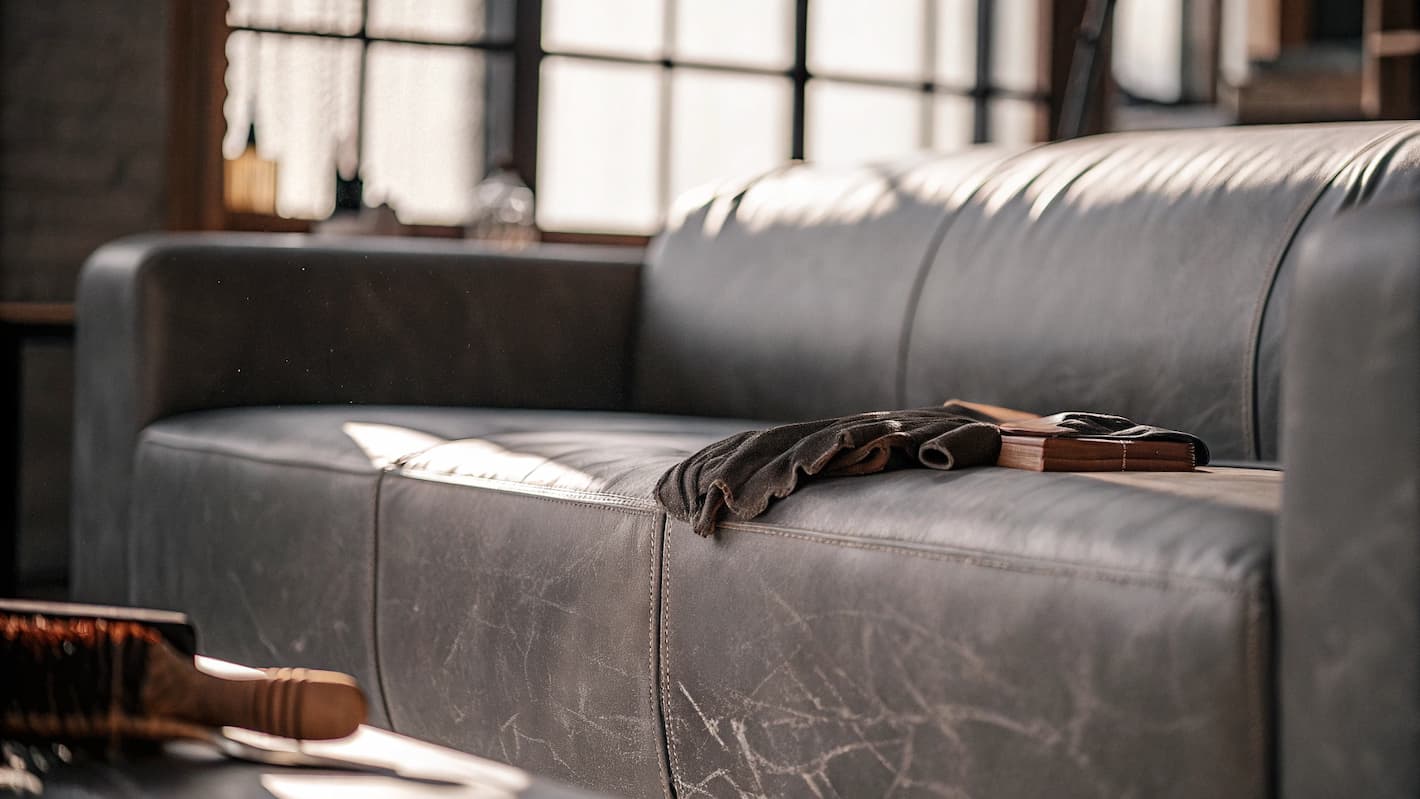
Leather embodies elegance, durability, and longevity. However, even the most high-end leather sofas are not immune to the ravages of time. Scratches, cracks, or tears can alter their appearance and affect your comfort.
Fortunately, it's entirely possible to repair a leather sofa at home, provided you're well-equipped and informed. This easy-to-follow article takes you step-by-step through restoring and maintaining your furniture to restore its shine.
Before repairing your sofa: Identify the type of leather and the extent of the damage
Before repairing your sofa, identify the type of leather and the extent of the damage . This will allow you to adapt your actions and the products to use. Some leathers are more sensitive to cleaning products than others, so you should do your research. Dig into your damage : is it a simple scratch or is it a dent several millimeters deep? The treatment, once again, will not be the same.

The different types of leather finishes (aniline, pigmented, etc.)
The type of finish directly influences the repair method:
- Aniline leather: very natural and minimally treated, it has a soft, matte surface. It is sensitive to stains.
- Semi-aniline leather: protected by a thin layer of varnish, it combines authenticity and ease of maintenance.
- Pigmented leather: covered with an opaque layer of dye, it is durable and easy to clean.
Each finish requires a suitable treatment to preserve the color, material and suppleness of the leather.
Assess the nature of the damage: crack, scratch, scuff, or tear?
The next step is to properly identify the type of damage:
- Cracked skin is often caused by a lack of moisture and can be treated with a repair paste.
- A light scratch requires a colored restoration product.
- A deep scratch sometimes requires light sanding followed by a suitable finish.
- A tear must be filled or covered with a patch (or patch) depending on its size.
The materials to gather for a successful repair
The materials you need for a successful repair are as follows; however, this material depends on the nature of the damage you encounter. These tools allow you to use the right kit and technique in most cases:
- A soft, lint-free cloth
- A sponge or foam pad
- A specific leather cleaner
- A repair paste or resin
- A stain the same color as your sofa
- A fixative or varnish to seal everything. Depending on the nature of the damage, also bring the following tools: scalpel, sandpaper, special leather glue, etc.
- Products for cleaning and surface preparation. For a successful repair, the damage must first be cleaned:
- gentle, solvent-free product
- cleansing lotion with moisturizing active ingredients
- soft brush
- Brush textured areas carefully.
Make sure the surface is perfectly clean and free of dust or liquids that need to be removed.
Products for cleaning and surface preparation
Before any repair, a good cleaning is essential. Use:
- A gentle, solvent-free product to avoid damaging the leather
- A cleansing lotion enriched with moisturizing agents
- A soft brush for textured areas
- Clean the affected area thoroughly.
- Remove any residual dirt, dust or liquid.
This preparation phase is essential to guarantee a clean and durable finish.
Materials for repair depending on the damage (paste, resin, part, etc.)
Knowing how to differentiate between these situations allows you to choose the right kit and repair technique. To successfully complete a repair, gather the following materials:
- A soft, lint-free cloth
- A sponge or foam pad
- A specific leather cleaner
- A filling paste or resin
- A dye that matches the color of the sofa
- A fixative or varnish to seal the result
Depending on the type of damage, some additional tools may be necessary, such as a scalpel, sandpaper, special leather glue, etc.
Products for finishing and protection
Once you've completed all the different repair steps, it's important to apply a top coat. The goal? This allows you to extend the life of the leather. This top coat will play a vital role in limiting the impact of damage to the leather, such as light, humidity, or repeated rubbing.
Among the most used products, we find: finishing varnishes : colorless or tinted depending on the type of leather; protective creams : they nourish and create a protective barrier for the leather; natural waxes : they are ideal for full grain or aniline leathers
For best results, apply your product with a non-textured cloth, using circular motions.
How to Repair Your Leather Sofa: The Method by Type of Damage
The use of finishing and protective products is, after the repair stage, an important phase to ensure the longevity of your leather.
Case No. 1: Repairing cracks or surface wear
These elements play an essential role in protecting against external aggressions such as light, humidity or repeated friction. Among the most commonly used products are: finishing varnishes, colorless or tinted depending on the type of leather; protective creams that nourish and establish a defensive barrier; natural waxes, ideal for full-grain or aniline leathers.
These products should be applied in a thin layer using a soft cloth, using circular motions to achieve a uniform result. This treatment restores the material without stiffening it, for preserved comfort.
Case No. 2: Reduce a superficial scratch or scuff
A scratch or scuff is usually shallow. In this case, there's no need to use thick resins. Here are the steps: Clean the affected area with a gentle product. Use a color corrector or recoloring cream. Apply with a soft cloth, patting, not rubbing. Protect the area with a polish or nourishing cream.

Case #3: Repairing a tear or hole in the leather
This type of damage requires a more technical approach. If your sofa is still under warranty, you can contact your seller. Otherwise, here's how to repair a tear yourself.
Clean the area around the damaged area. Slide a piece of fabric or leather under the tear. Apply a special leather resin or glue to the edges. Bring the two sides together with a spatula. Once dry, apply a paste to fill in any irregularities. Finish with a finishing product and recolor if necessary.
This method gives a stable result. Even on a chair or other piece of furniture, where the load is maximum.
Optional: Match the color after the repair
When restoring a surface, it's always necessary to even out the color after the work. Use a pigmented cream or liquid stain. It's important to respect the main shade. This procedure is mandatory for light surfaces. On a sofa, if this isn't done correctly, the paint is easily noticeable to the wearers. Apply in several thin layers, drying between each coat to avoid overspray.
Why is your sofa leather getting damaged? Common causes
Several factors explain the progressive wear of leather:
- Exposure to the sun: UV rays dry out the material and cause discoloration.
- Daily use: repeated rubbing causes cracks and shiny areas.
- Lack of moisture: Leather that lacks moisture becomes dry, and dry leather becomes brittle and more prone to cracking. Liquids: This is no surprise! Water, alcohol, or grease can become stubborn stains on your sofa.
- Scratches: Scratch marks left by cats or dogs after sharpening their claws are common.
Conclusion
Caring for your leather sofa requires a proper routine and targeted actions in case of damage. Knowing how to repair a leather sofa allows you to significantly extend its lifespan while maintaining optimal comfort.
With the right products, a method adapted to each type of repair, and regular hygiene, your furniture will retain its shape, flexibility, and elegance for many years to come. Remember: preventative maintenance is better than emergency repairs. If you have any doubts, don't hesitate to call a professional; they'll know what to do.

 The up and down coffee table: practical on a daily basis for small homes
 Liftable table: which design to go with my sofa?
 Liftable coffee table: round or rectangular? Our advices
 Pantone Color 2026: Cloud Dancer, the warm white to adopt at home
 Tips and good ideas for furnishing a studio for rental
 What size sofa should you choose? The ultimate guide to a perfect purchase


