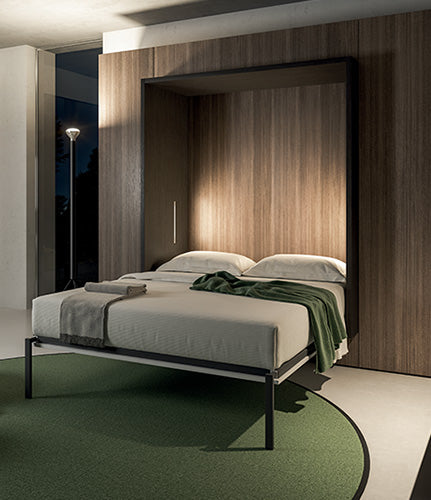
There are three steps to building a Murphy bed yourself. First, prepare the materials and holes for assembly. Next, move on to assembling the bed base and box spring. Finally, attach the Murphy bed legs and begin the finishing touches.
Step 1: Preparing the assembly
You need:
12 boards, preferably pine, 1.6 cm thick and of different dimensions: 3 to support the slats, 2 for the head and foot of the bed, 2 for the sides, 2 more for the bottom and another 3 for assembly.
The wall box requires 4 additional boards.
In terms of equipment, you will also need:
- a router,
- a drill,
- a screwdriver,
- about 40 screws,
- assembly brackets
- paint for finishing touches.
Then pre-drill the holes for assembly using the router and drill.
Step 2: Assembly
Start by assembling the box section to the Murphy bed frame using wood glue and wood screws. Corner braces will help strengthen the junctions. To reinforce the box section, add two boards inside, screw them to the sides of the frame, and install two corner braces.
You can then screw in the 14 slats of the bed base, making sure to keep equal spacing between each one. Finally, assemble the sides of the wall box and use assembly brackets to reinforce the corners.
Step 3: The mechanism and the finishes
The last step is to install the spring mechanism and drill the holes for the installation of the 10 cm high U-shaped retractable legs . Now you can start the finishing touches, namely preparing the cupboard, varnishing the wood and installing the handle for lowering and raising the Murphy bed.
Step 4: Wall mounting
The final step to fully enjoying your Murphy bed is securing it to the wall. You'll need fastening tools and a drill.
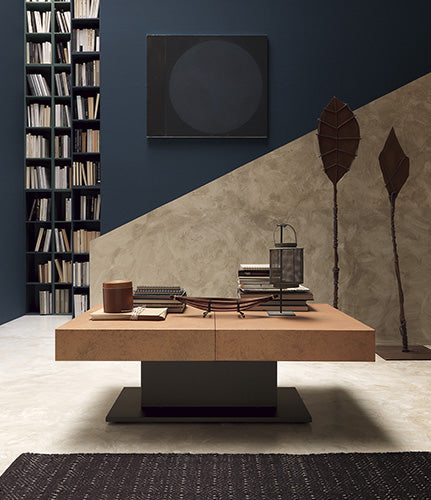
 The up and down coffee table: practical on a daily basis for small homes
 Liftable table: which design to go with my sofa?
 Liftable coffee table: round or rectangular? Our advices
 Which system for your sofa bed?
 Small living room sofa: how to choose wisely without sacrificing comfort
 Which upholstery for a sofa? The guide to making the right choice